
Before-Sofa

Before-Chair
And so we begin.....tear it apart. (As re-construction will be in REVERSE order, I need to log each step)
Here we go......chair first!

1. DECONSTRUCTING OUTSIDE OF CHAIR
A. DETACHING BOTTOM SIDE
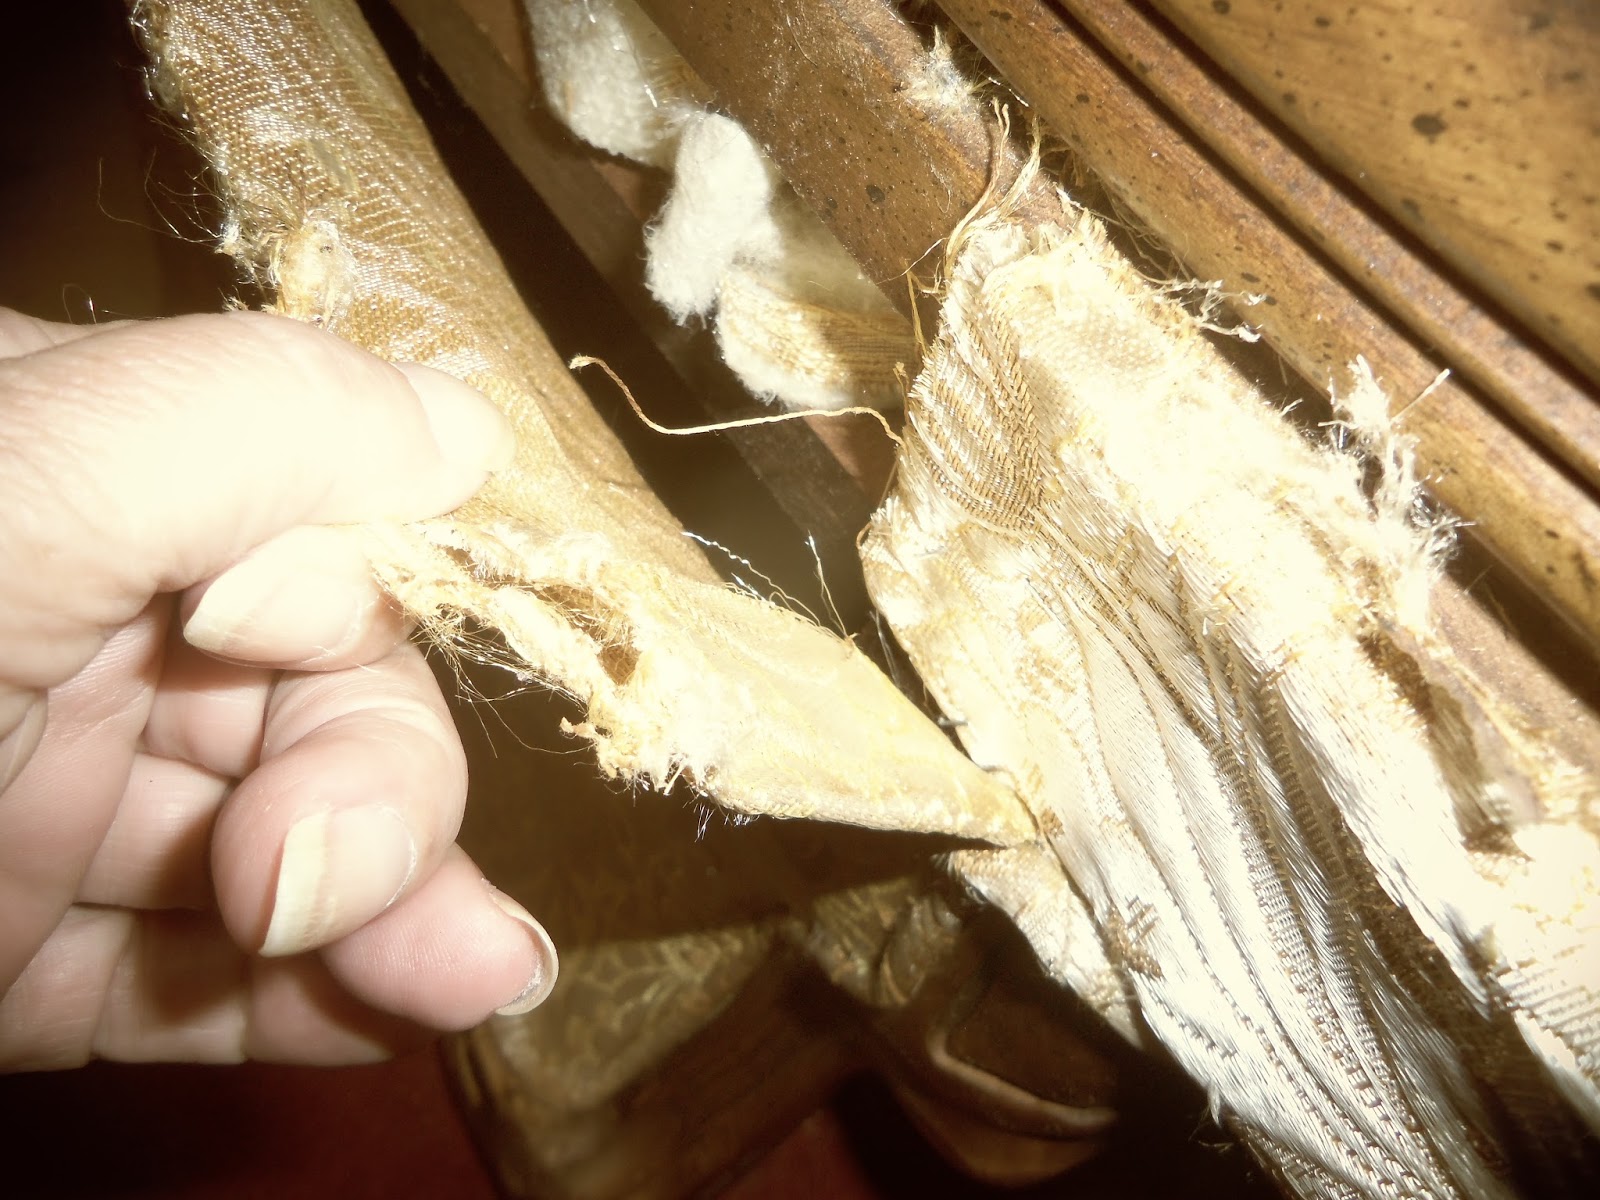
Began by detaching rear, middle piece. Removed piping (note: piping begins between the pieces of wood and then around.
A. DETACHING BOTTOM SIDE
Began by detaching rear, middle piece. Removed piping (note: piping begins between the pieces of wood and then around.

Piping ends here.
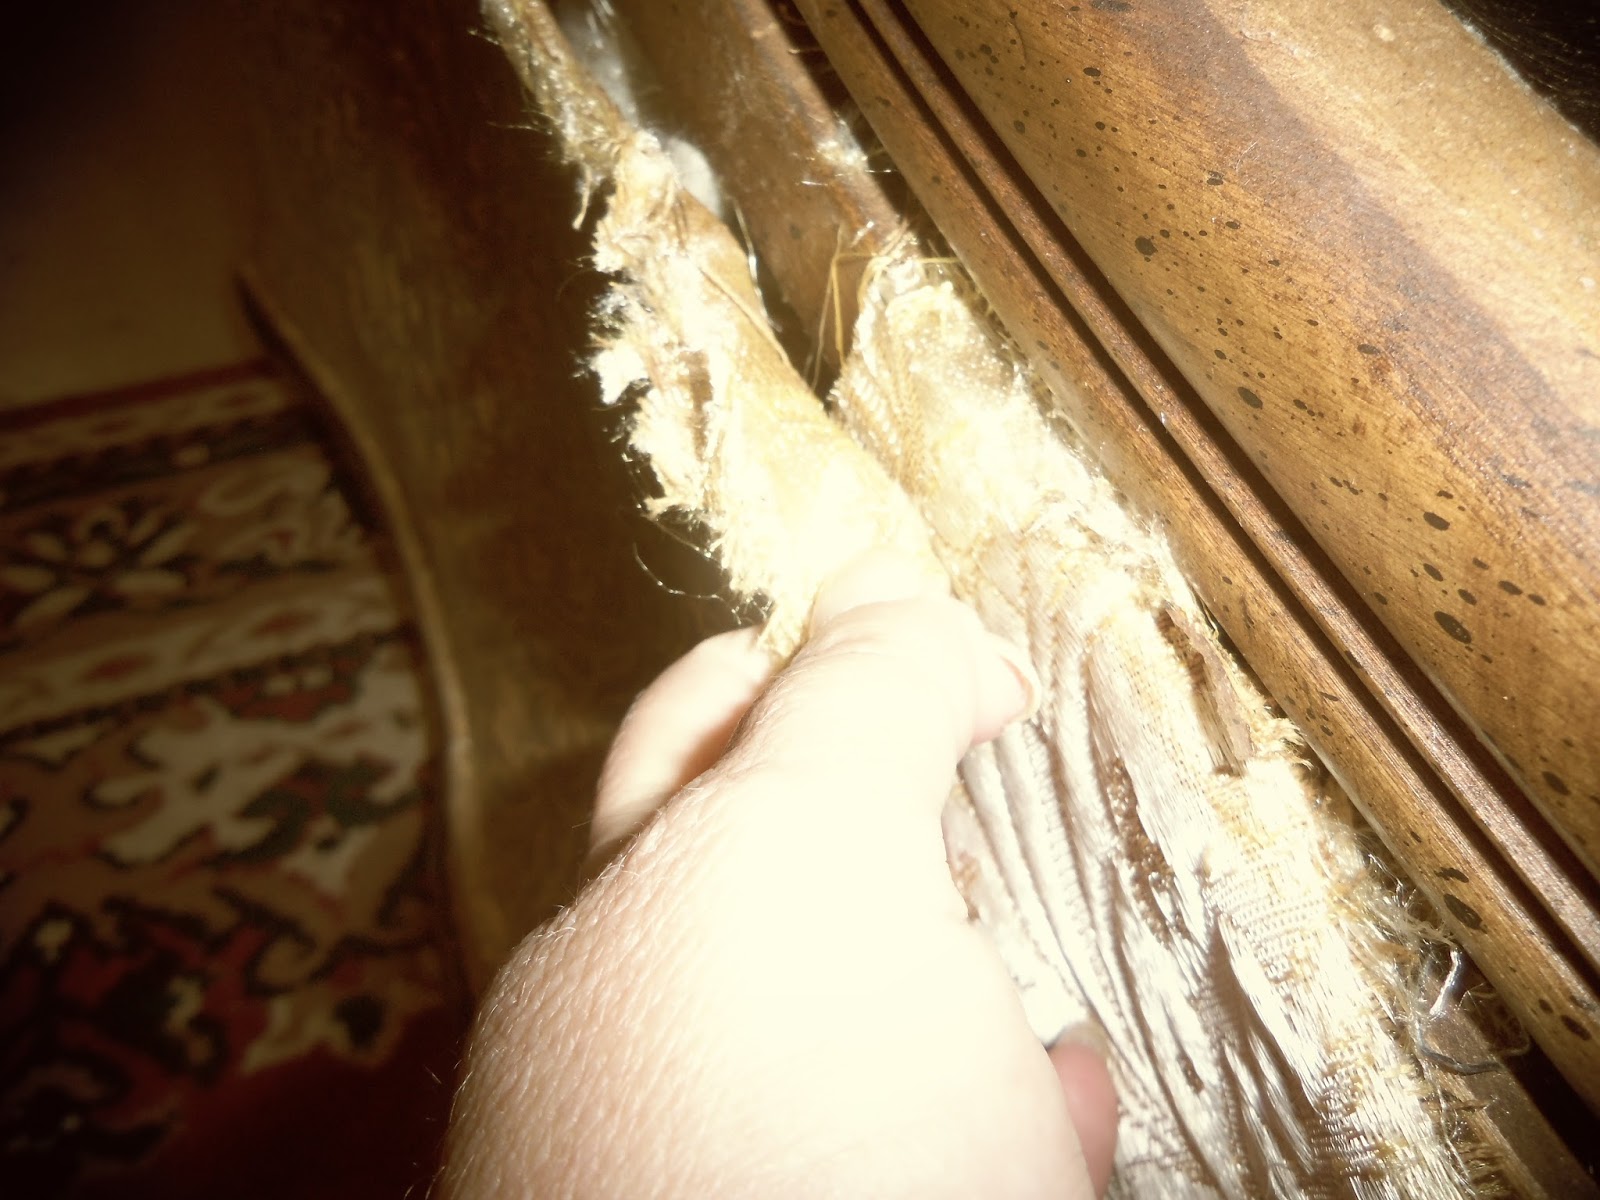
Onto Side piece. Note how the front piece is stapled in first. The side piece is folded to fit (just behind leg) and stapled in place over the front piece.

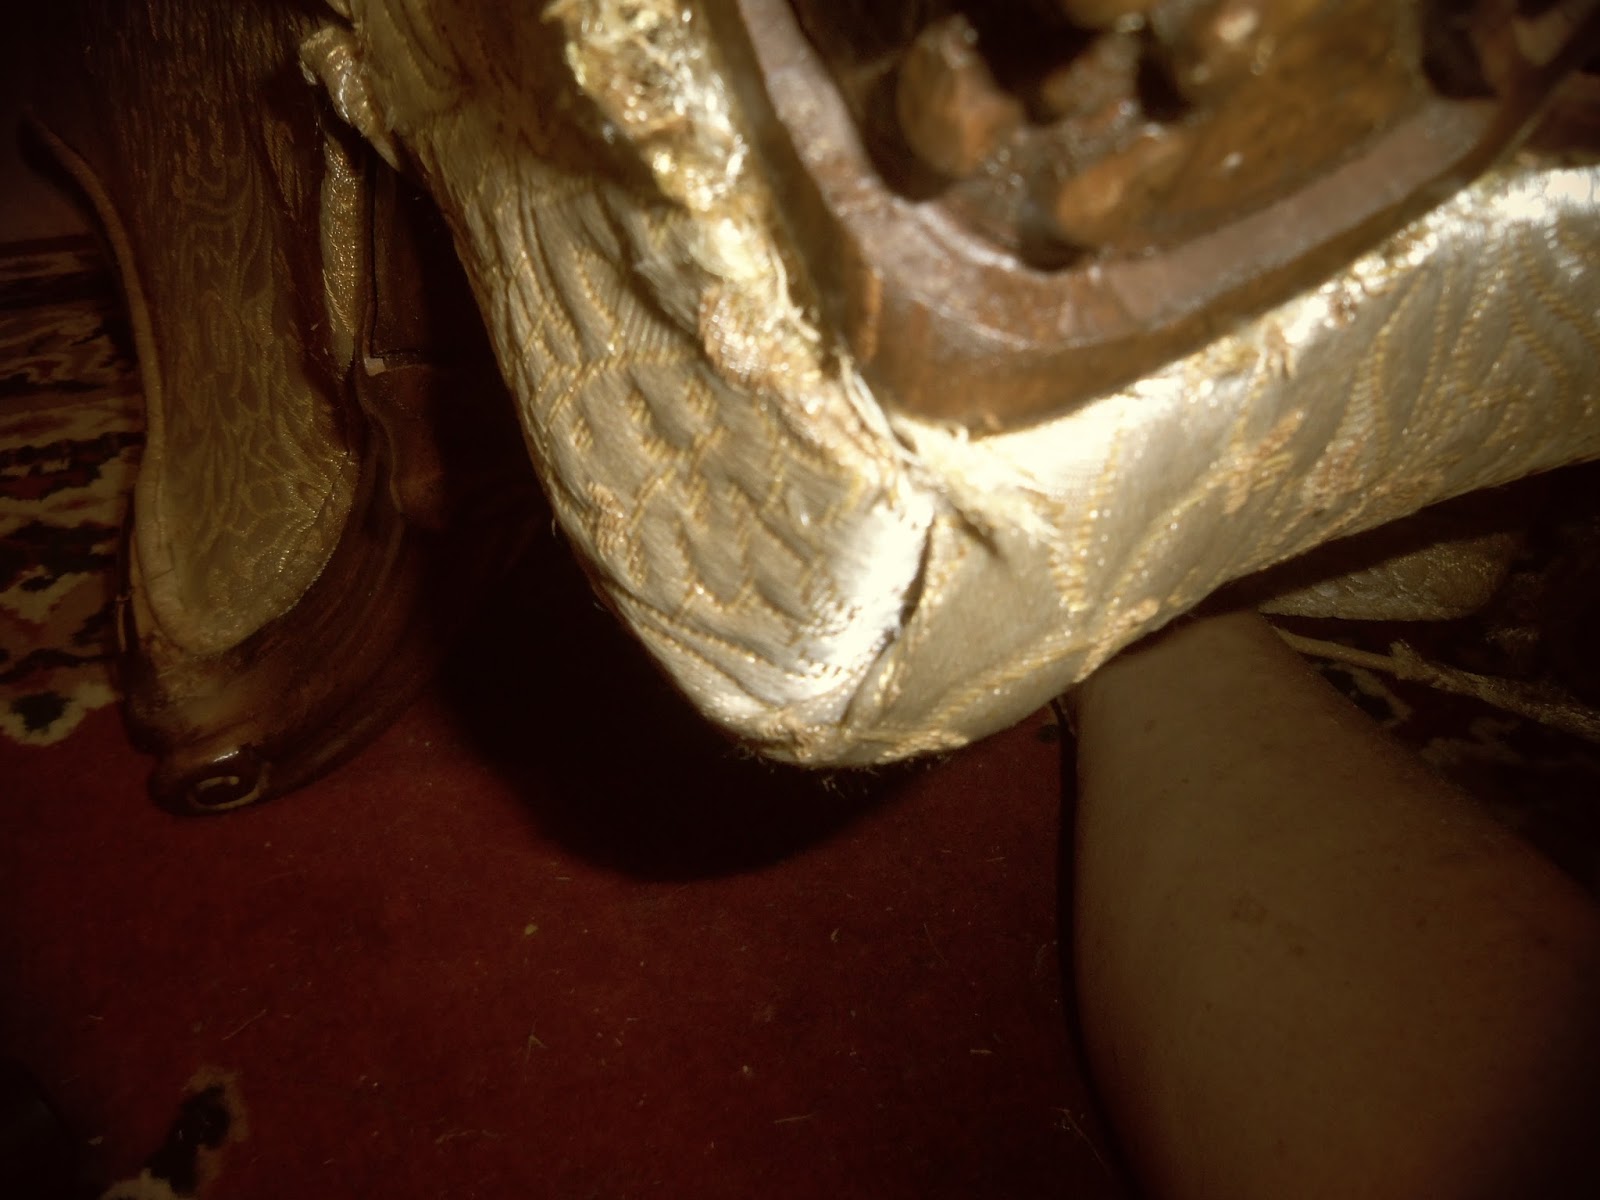
Corner Fold. Remaining side piece stapled down. Tucking side piece in, front piece is is then folded/placed over side piece to form corner. No staples in front fold.
Front piece removed.
Next corner, as is.
 |
| Reference: Next (front) corner is stapled down with side folded/stapled over raw edge of front just behind front leg. |

Ref: Corner as is ....

Third corner removed.

With second side now removed, detach fourth and final corner. Piping ENDS here.
B. DETACHING TOP SIDE
Ref: Piping on top side is one piece also. Running across backside, underneath the arm, across front of arm, up and around inside of arm, across inside of front, down inside of arm, underneath/around arm to outside next arm, returning to beginning point on back side.


.......and this is what the chair looks like half naked.
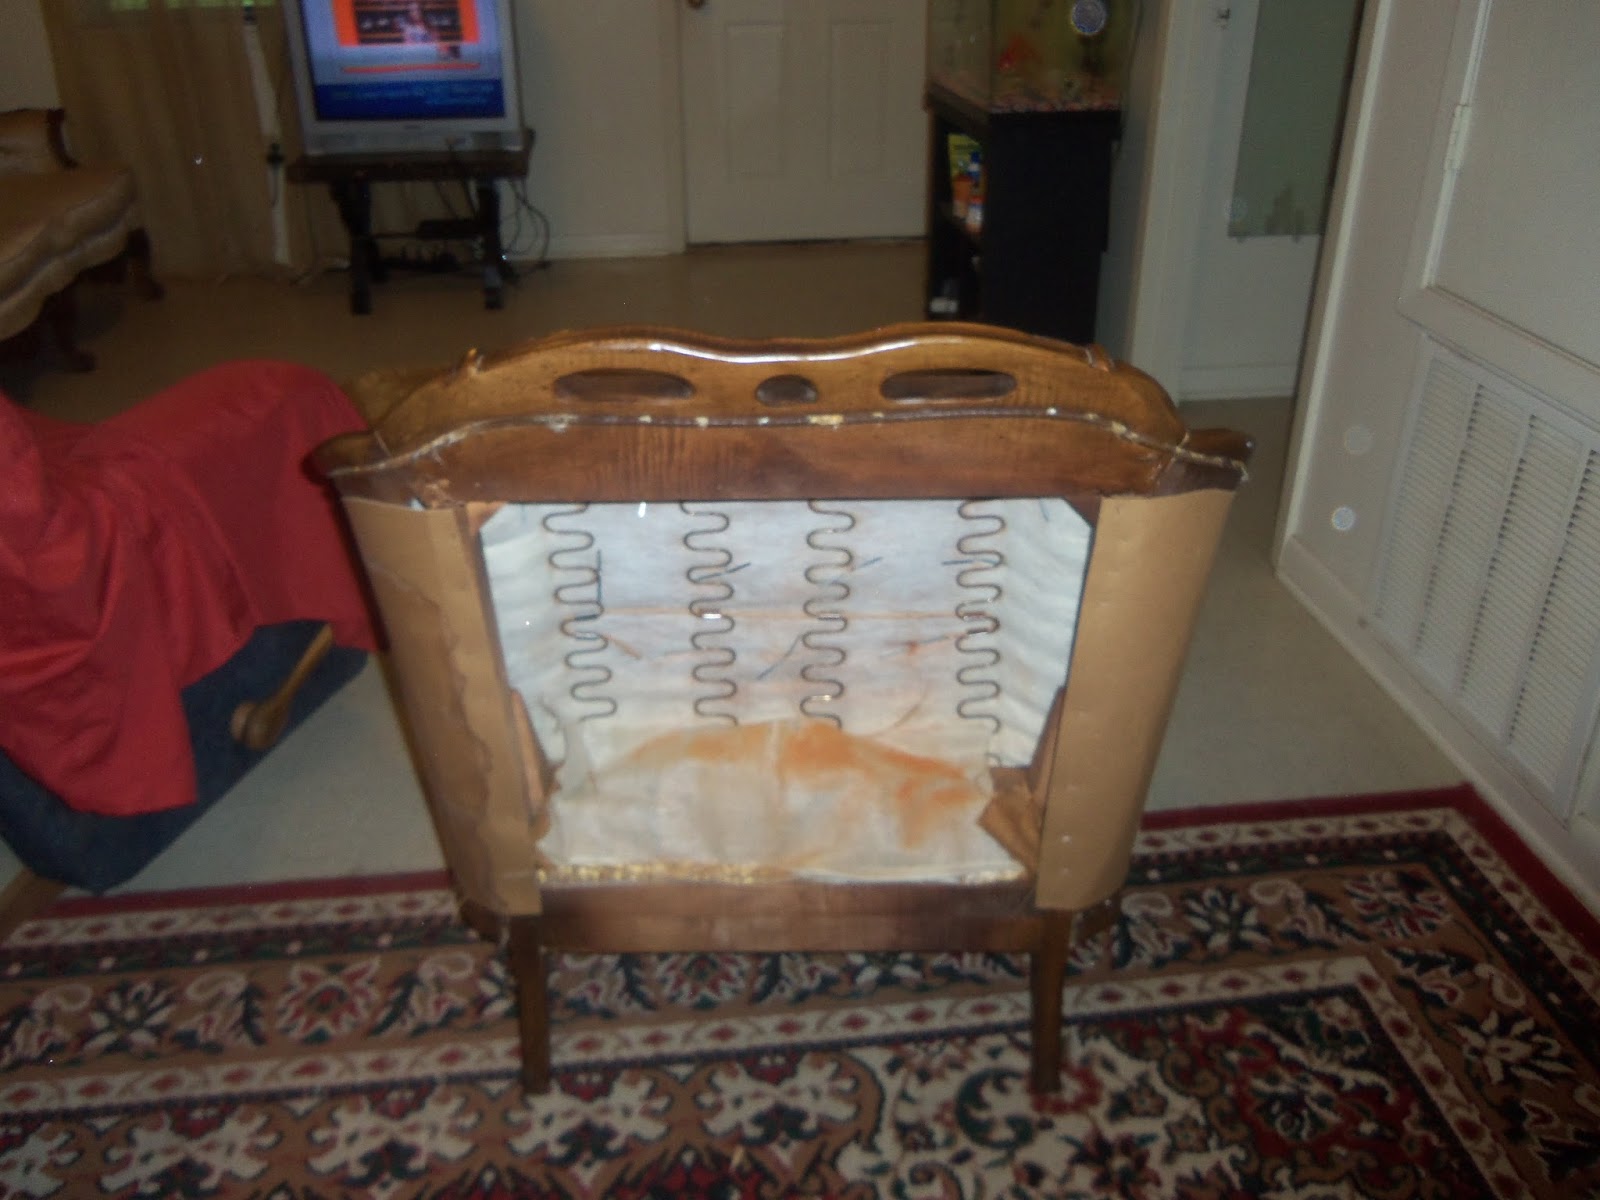

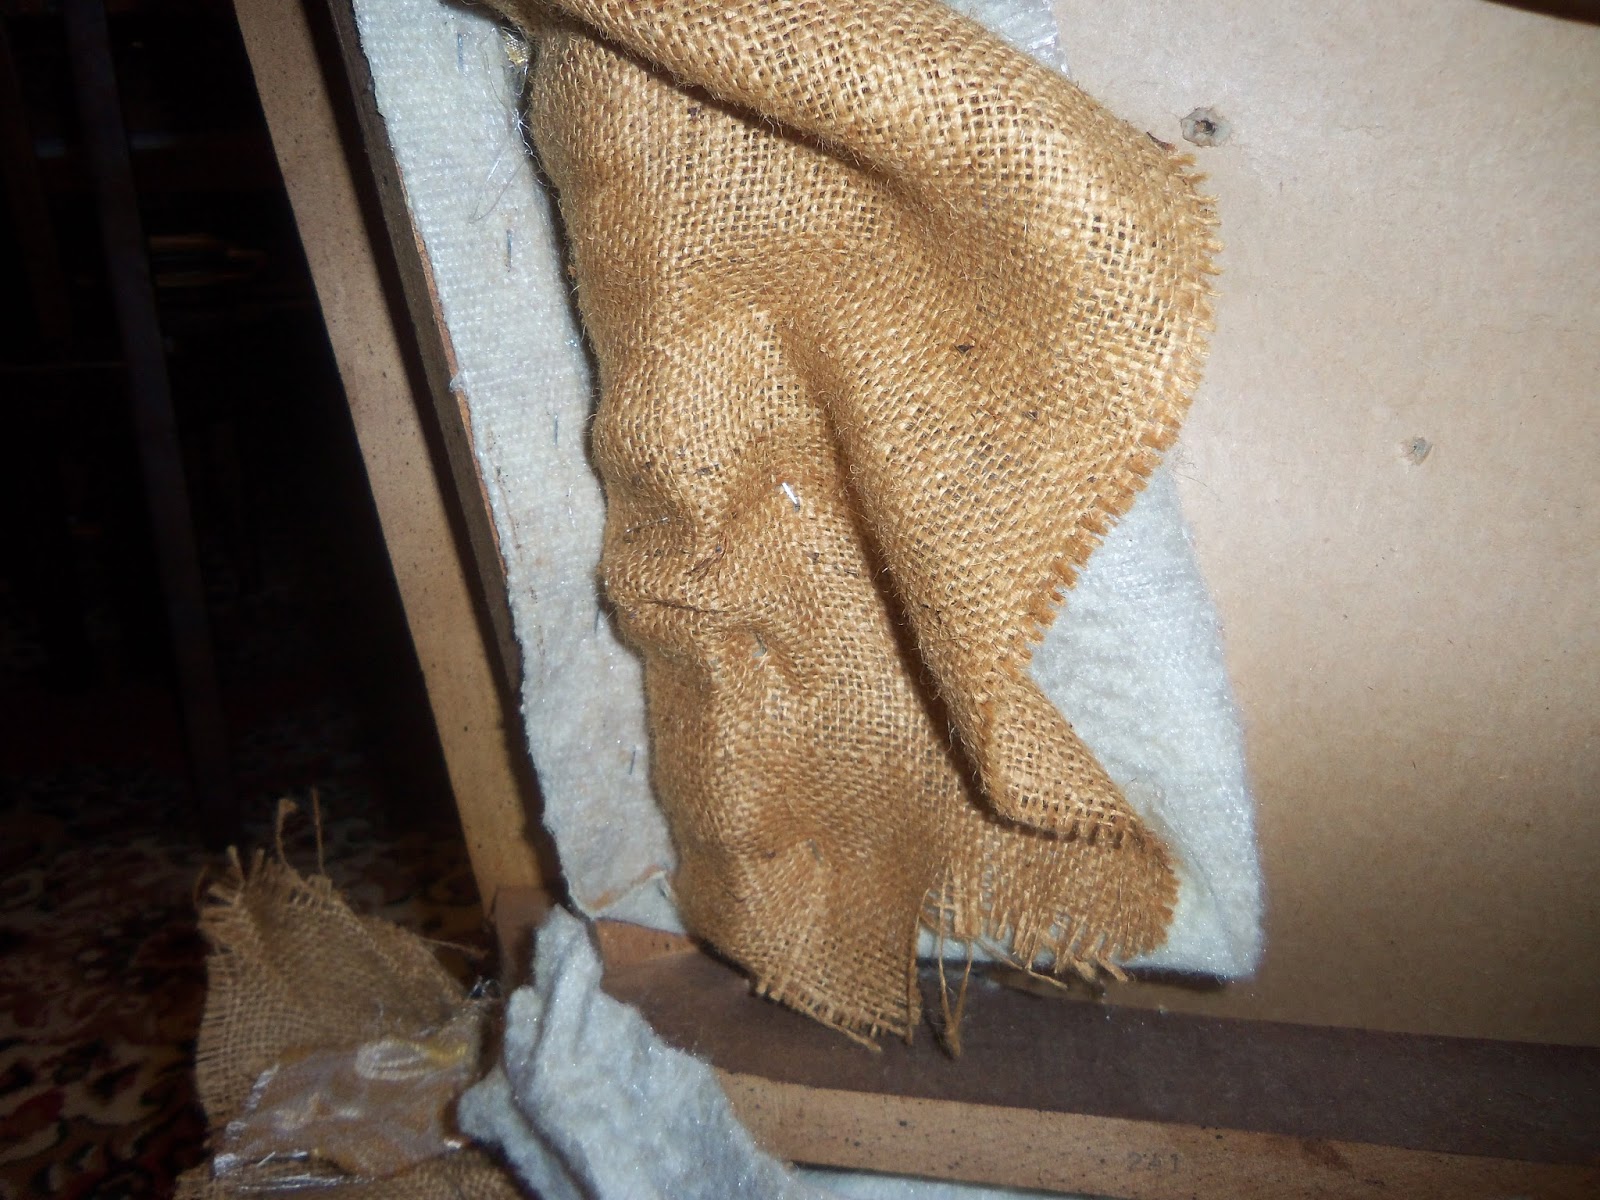
Paper is used to round out the sides. Huh? Really!

The tufting is established with long-stemmed brads, not button tie, yeah.
Tufting on inside of arms, 2 ea. side
Tufting inside back of chair: 3 rows
Top row: 5, Middle row: 4, Bottom row, 3
2. DECONSTRUCTING INSIDE OF CHAIR

Ref: Actual of front seating area before detaching piping/upholstery.

Now what I found here is really disgusting. The thin layer of foam padding on the (inside) back of chair is kapook! I really was hoping the stuffing would be salvageable. Ewwee! My allergies will thank me later!

Tufting removed.
Now to figure out how the (inside) arms/back are secured into place.

Removing the cardboard....

....reveals.....

The (inside) back of chair are pulled through to back of chair/stapled down.
Sides of front brought around/stapled here....

and bottom of front pulled thru/strapled here. Multi-layers(underneath) reveal seating brought thru/stapled here also.


With staples removed, the (inside) back of chair pulls right out.
NOW TO REMOVE SEATING
NOW TO REMOVE SEATING

Remove batting from front edge (stapled down)

With batting removed, seating is stapled/attached here.....

and here.....
and here at the sides. Sorry, no pic of actual but from this pic, you can see how I pulled all that stuffing out from the side to reveal a row of staples securing the sides of the seat.)

Staples removed, the seating just slips right out!
All done! What a mess. Wish I could toss all this nasty stuff out but not yet. I need it all for patterns. So I am packing it all in a box, cleaning my living room thoroughly and taking a day off.
REF: ALL PATTERN PIECES
REF: ALL PATTERN PIECES

Batting/Foam Pieces
1. 3 pieces on left-are from inside the arm of the chair.
2. Long piece of batting is from the front of chair (seating area).
3. Nasty foam (with batting along sides/bottom) are the back of chair.

Upholstery from inside arms of chair (right side)

Upholstery from inside arms of chair (wrong side)
Reveals burlap pocket sewn into place to hold the middle piece of batting.
(Inside) Back of chair.

(Outside) Back of chair/sides

(Outside) Back of chair/sides
Seat of chair

Cardboard removed from sides-rear of chair.

Bare bones of this little pretty revealed.


